JetBackup5 is our powerful backup and restore tool. It allows us to take daily incremental backups of all sites stored on our servers and provides a simple and intuitive interface to restore your account data.
- Let’s fire up the JetBackup 5 module from within cPanel
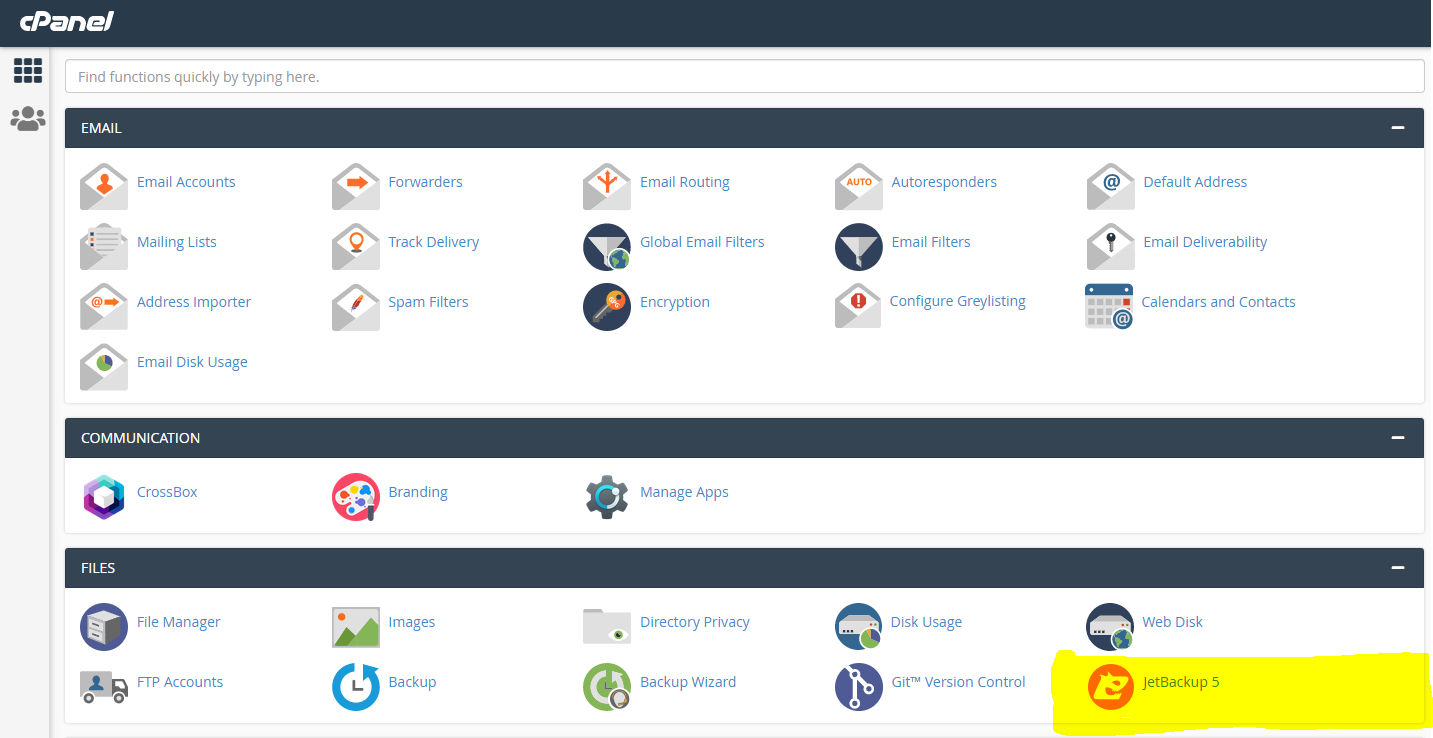
- Head over to the Restore & Download menu
On the left-hand navigation menu click the highlighted icon. Wait a few seconds and you will be presented with the available backups of your account.
Use the drop-down menu to select the backup you would like to restore from!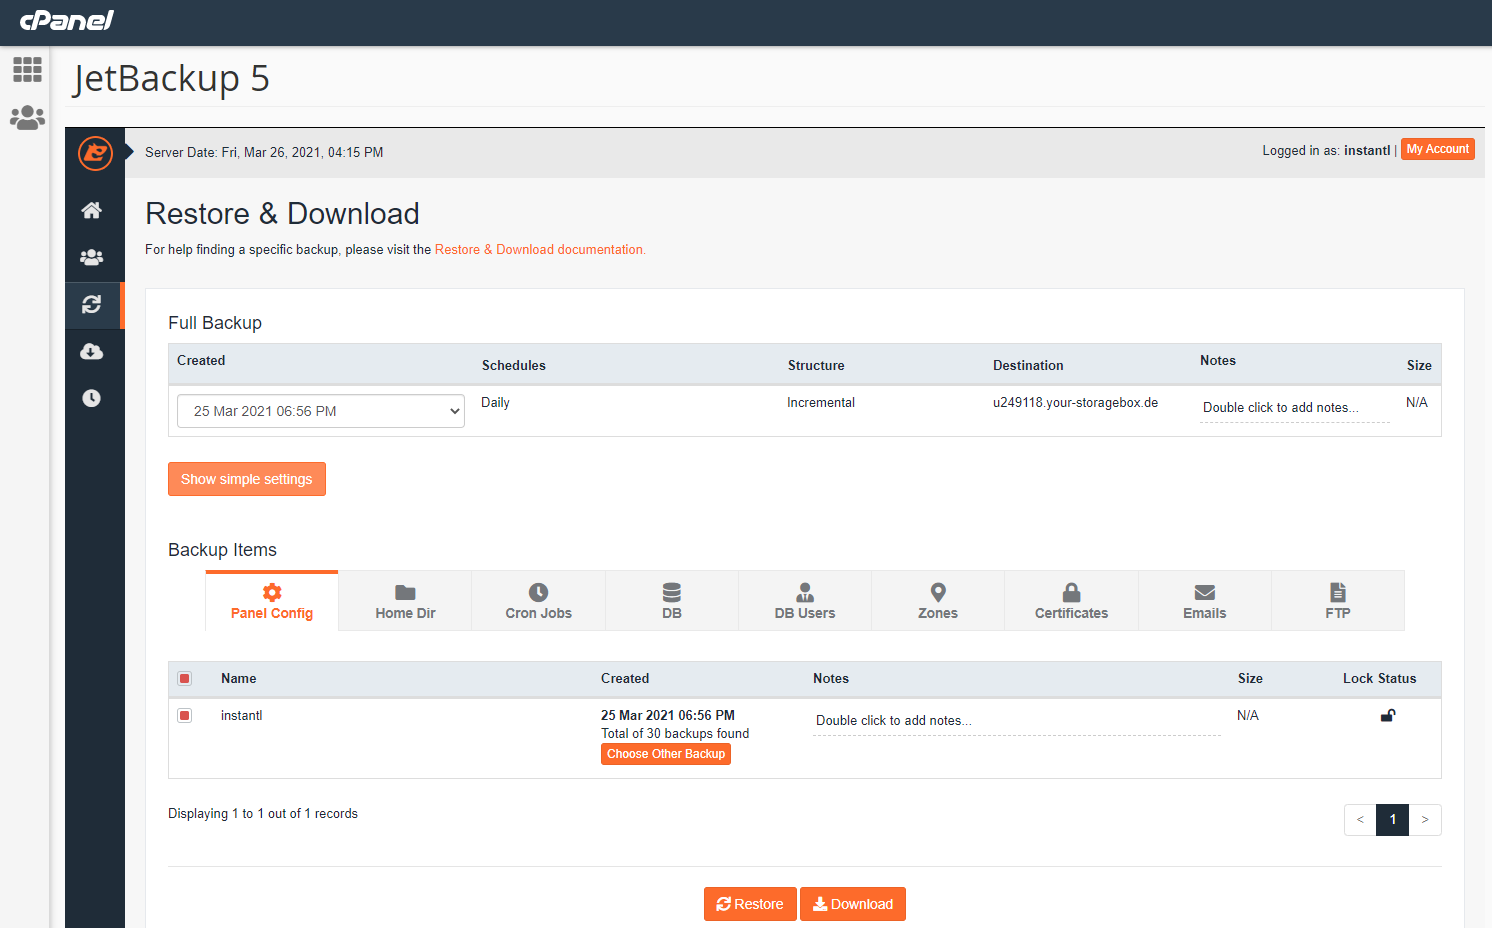
If you would like to complete a full restore ( including cPanel preferences and Email Accounts ) then click Restore.
If you would like to customise the Restore then follow the next point. - Customize the restore ( Optional )
Click “Show Advanced Settings”. Wait a few seconds and a table will be presented to you. From here you can choose specifically what you would like to restore. You are able to restore the following options:
Panel Config – Your cPanel Settings and Preferences
Home Directory – All of your files and folders ( you can choose specific files )
Cron Jobs – The Crons set up to run automatically. Often used by WordPress.
DB – Your Databases
DB Users – The users configured to interact with your Databases. If you restore a database you will also need to restore these.
Zones – Your DNS settings ( if utilised by our nameservers )
Certificates – Your SSL Certificates ( HTTPS )
Emails – All of your Email Accounts!
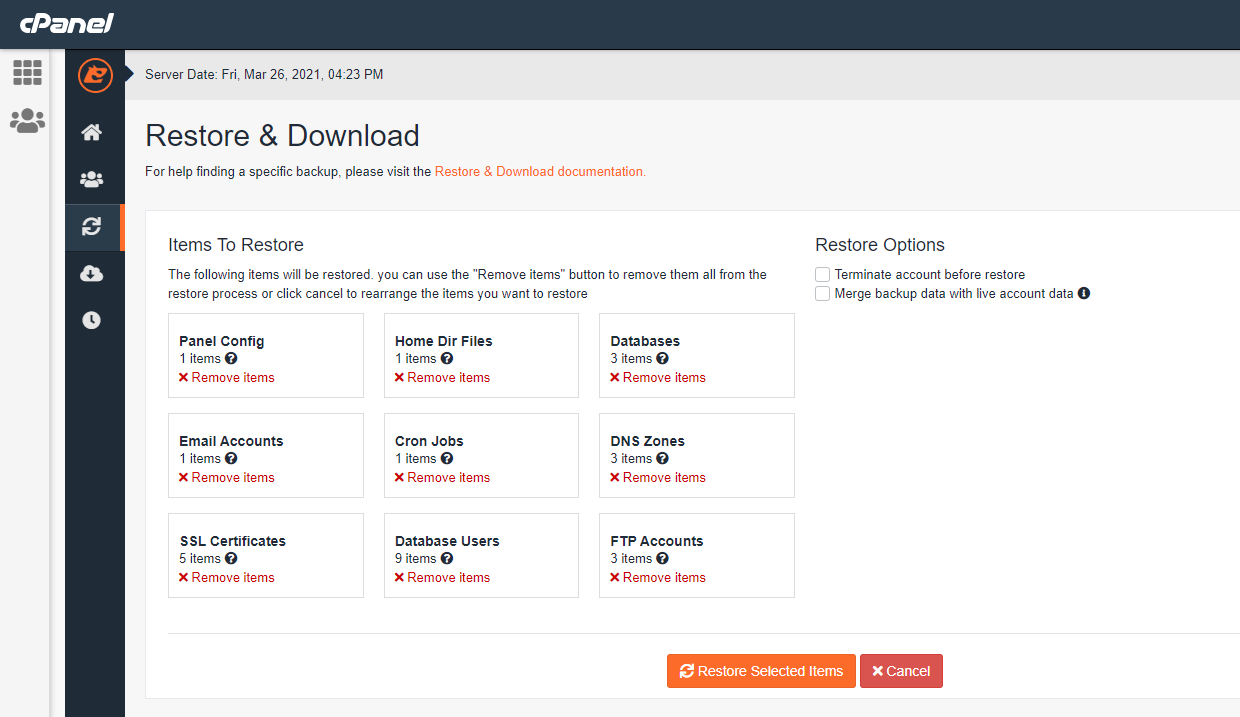
FTP – Your FTP users. - The final step
Your confirmation screen. Confirm the items you want to restore and click “Restore Selected Items”
If you require any assistance in restoring your account or files. Feel free to raise a Support Ticket from the Client Area.


